A 3D printer prints objects in layers, and the first step is to create a digital file containing the design you want to print. You can find many free designs online or in the Internet, and these files are used to create your print. To prepare your design for printing, you must perform a process known as digital slicing. Digital slicing breaks your 3D model into thin cross-sections, or “layers.” Each layer is then sent to the printer head, and the printer starts to produce your model.
A 3D printer uses the STL format
After you’ve created your design, you’ll need to convert it to a file format that the 3D printer can read. Most 3D printers use the STL file format, which stands for “Styrene Tessellation Language.” Basically, STL files contain the instructions that tell the machine how to make a particular object. After the design is saved in the right format, you can send it to your printer.
Preparing Your Model for Printing
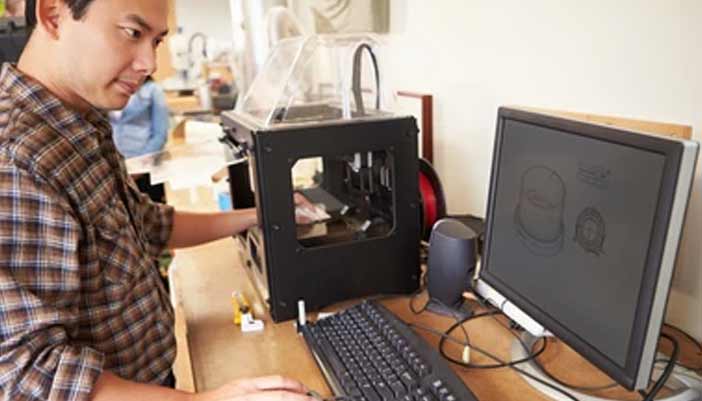
After you’ve uploaded your STL file to your printer, it’s time to prepare it. The printer will need to be set up, and you’ll have to add new filament or consumables periodically. In addition to the filament and spools, you’ll need to monitor your machine to ensure that it’s running smoothly. If anything seems off, you can use the software to reset your print settings. Browse around this website to discover additional resources 3D printer.
3D Printers Print Layers
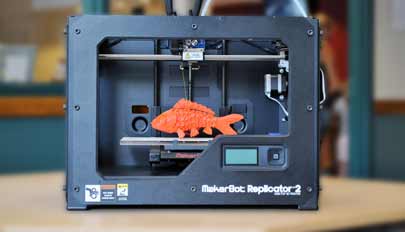
A 3D printer prints layers by extruding molten plastic from a tiny nozzle. After the first layer has finished drying, the printer prints the next layer on top of it. The final product can be anything from a beautiful 3D model to a crude 2D line of plastic. It’s really up to you! This is how a 3D printer works.
Prepares Your STL File
Using the software, the design must be translated into a file format that can be used by a 3D printer. The most common file format for 3D printing is called STL. This is the most common file format for this type of printing. The sliced file contains instructions to the machine, such as where to place the material. After the process, the 3D printer will print the finished object.
Converting a CAD File

The design you have created will be printed as a CAD file. The next step in this process is to convert the CAD file to the appropriate file format for the 3D printer. An STL is the most common format for this type of printing. The STL format is a universally-accepted file. The file must be stored in a standard location. The printer must be able to handle the heat generated by the printer.
Conclusion:
After the file is transferred to the computer, the user can designate the size and orientation of the print. Once the printing is complete, the user should clean the model and remove it. After the printing process, a 3-D printer is ready to use. The machine needs to be checked and replaced with a new one. Once it has been set up, it will continue to function. If your design isn’t a CAD file, a 3D scanner can help you design a better version of the design.